Ever wondered what's really happening inside that fermenter while you're anxiously checking your airlock every few hours? We've all been there – that mix of excitement and nervous energy as our yeast buddies work their magic. Let's dive into the fascinating world of fermentation and help you brew with confidence.
What's Actually Happening During Fermentation?
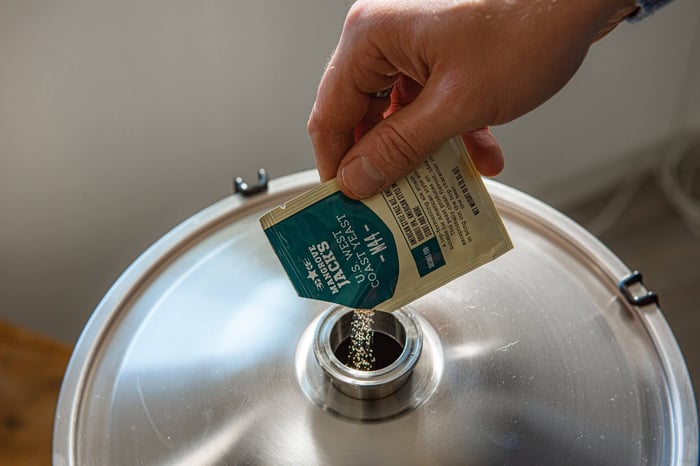
Think of fermentation as nature's most delicious chemistry experiment. Your yeast converts the sugars in your wort into alcohol and CO2, creating the beer we all love. It kicks off the moment you pitch your yeast into that cooled wort, and from there, it's showtime.
The Million-Dollar Question: How Long Should I Wait?
Here's the thing that trips up most new brewers – we don't control the timeline. Nope, not even close. Once you pitch that yeast, they're running the show. What we can do is create the perfect environment for them to thrive.
Temperature: Your Secret Weapon
Want to know the difference between good beer and great beer? Temperature control. Seriously, it's that important. Every yeast strain has its sweet spot – a temperature range where it performs like a champion.
The golden rule? Aim for the lower-middle range of your yeast's preferred temperature. If your packet says 64-72°F, shoot for around 66-68°F. Your yeast will thank you with cleaner flavors and fewer off-notes.
Here's what happens when you mess with the thermostat:
- Too hot: You'll get funky flavors nobody asked for (and not the good kind of funky)
- Too cold: Your yeast might take a nap mid-fermentation, leaving you with a stuck brew
Exception alert: Kveik yeast laughs at these rules. This Norwegian powerhouse can handle temperatures over 86°F without breaking a sweat – perfect for those scorching summer brew days!
How Do I Know When My Beer's Ready?
Stop staring at that airlock! We know it's mesmerizing (trust us, we've lost hours watching those bubbles), but it's not telling you the whole story. CO2 can escape through tiny gaps you can't even see, making your airlock go silent while fermentation continues.
The only way to know for sure? Break out your hydrometer or refractometer. Take readings over 2-3 consecutive days. When your specific gravity stays stable, you're golden.
Post-Fermentation: The Waiting Game
Once fermentation wraps up, resist the urge to rush. Give your beer a few days to chill out (literally, if possible). This settling period lets the yeast drop out, clearing your beer naturally.
Pro tip: Lowering the temperature a few degrees helps with clarity – think of it as encouraging your yeast to take a well-deserved rest at the bottom of your fermenter.
From here, you've got options: package immediately, age it longer, or get creative with additions like [LINK: fruit additions] or [LINK: oak aging]. The world is your oyster (or should we say, your hop cone?).
Secondary Fermentation: Skip It (Usually)
Remember when everyone said you had to rack to secondary? Those days are behind us. The risks of oxidation and contamination usually outweigh any benefits. Save secondary fermentation for when you're actually doing a secondary fermentation – like [LINK: bottle conditioning] or [LINK: keg carbonation].
The Fermentation Show: What's Happening Inside
Ever wish you had X-ray vision to see inside your fermenter? Clear fermenters are game-changers for curious brewers. Here's what your yeast are up to:
Stage 1: The Wake-Up Call (0-15 hours)
Your yeast are basically having their morning coffee, figuring out their surroundings and getting ready for the feast ahead. No airlock action yet – they're still stretching and yawning.
Stage 2: Party Time (4 hours – 4 days)
This is where the magic happens! Your yeast multiply like crazy, creating that beautiful krausen (the foamy head that makes every brewer smile). Your airlock goes nuts, and most of your alcohol and flavor compounds develop during this exciting phase.
Stage 3: Cleanup Crew (3-10 days)
The easy sugars are gone, and your yeast switch to housekeeping mode. They start absorbing those off-flavors we don't want – think of them as tiny janitors making your beer taste better. The krausen changes from creamy white to yellow and brown as it breaks down.
Stage 4: Nap Time (several weeks)
Your yeast have earned their rest. They settle to the bottom while your beer clarifies and flavors mature. This is when patience pays off in spades.
Ready to Level Up Your Brewing?
Fermentation might seem mysterious, but with the right knowledge and equipment, you'll be brewing like a pro in no time. Want to dive deeper? Check out our guides on [LINK: bottling beer] and [LINK: kegging beer] to finish strong.
Got questions? We're just a bunch of brewers who love talking shop. Drop us a line – we're always happy to help a fellow brewer nail their next batch.
Grainfather Team