Ever feel like you're stuck in a brewing rut, following the same 60-minute mash routine beer after beer? We've all been there. But here's the thing – your mash schedule doesn't have to be set in stone, and tweaking those times and temperatures can completely transform your homebrew.
Our buddy Dave from across the pond has been geeking out over mash manipulation lately, and his experiments are eye-opening. If you're ready to break free from rigid brewing schedules and start crafting beers that truly reflect your vision, let's dive into what he discovered.
The Science Behind the Magic
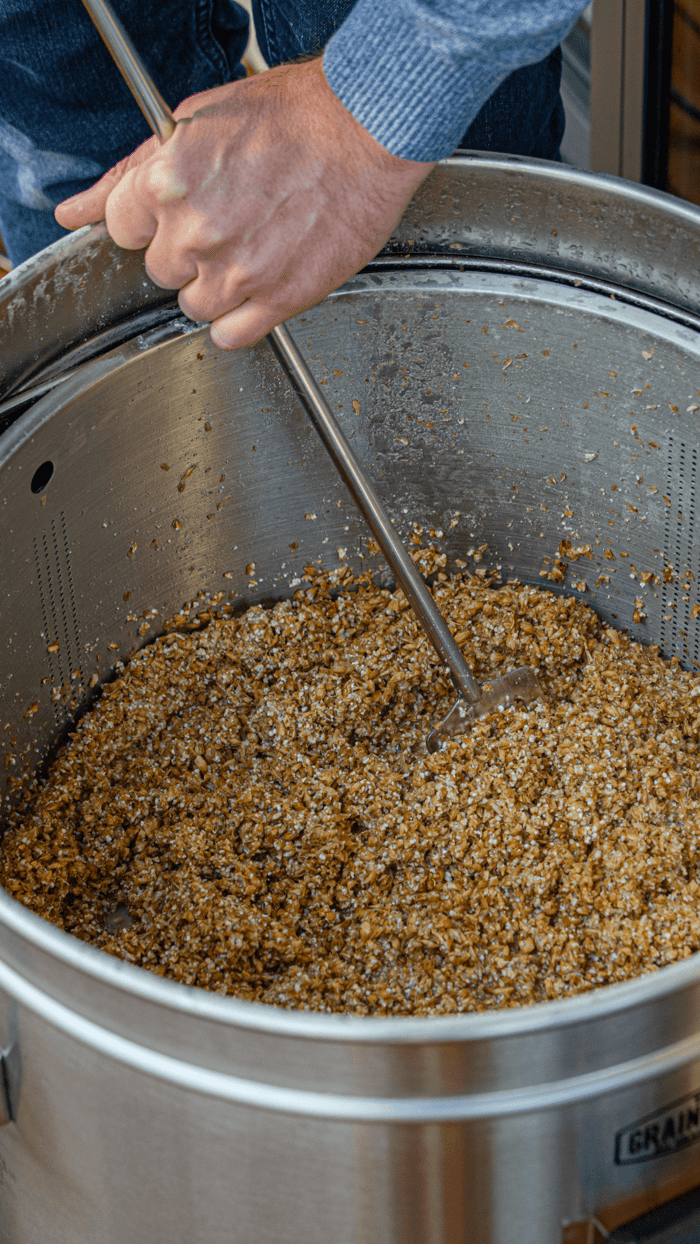
Think of your mash as a carefully orchestrated dance between enzymes and time. Different enzymes kick into gear at specific temperature ranges, and each one has a unique job to do:
Cell Wall Breakdown (40-53°C/104-127°F): Your endoglucanase and beta-glucanase enzymes get busy breaking down those protective cell walls around starch granules. Think of it as unlocking the treasure chest before you can get to the gold inside.
Protein Rest Territory (45-50°C/113-122°F): Here's where your peptidase enzymes shine, breaking down proteins into amino acids that your yeast will absolutely love during fermentation. Skip this step at your own peril – healthy yeast makes happy beer.
The Main Event - Starch Conversion (35-75°C/95-167°F): This is where the real magic happens. Your alpha and beta amylase enzymes work together to transform starches into fermentable sugars. It's like watching flour become bread, but way more exciting.
Here's a mind-blowing fact: research shows that most starch conversion happens in the first 15 minutes at 152°F (67°C). So why do we religiously stick to 60 or 90-minute mashes? Great question – and exactly what Dave set out to investigate.
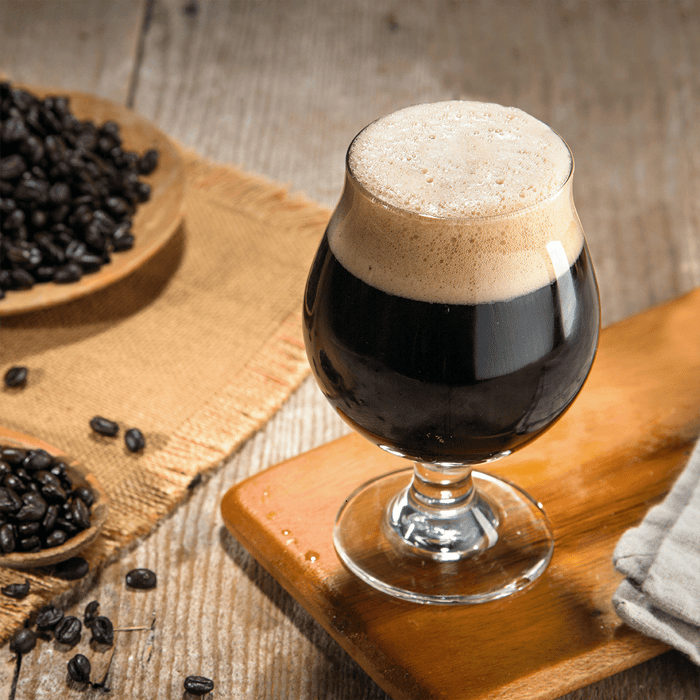
The Imperial Stout Experiment: Three Approaches, Three Results
Dave decided to put theory to the test with an imperial stout recipe – a style that demands both high alcohol and full body. Same recipe, same temperature (152°F/66.7°C), but three completely different mash times. Here's what went down:
Recipe Foundation:
- 64% Marris Otter (your reliable base)
- 10% Munich (adding that toasty depth)
- 9% Brown Malt (complexity builder)
- 4.4% Roasted Barley (the stout signature)
- 4.1% Dark Crystal (sweetness and color)
- 3.7% Chocolate Malt (rich cocoa notes)
- 3.7% Amber (caramel backbone)
- 1.1% Black Malt (just a kiss of roast)
Round One: The Speed Demon (20 Minutes)
Going ultra-short seemed like a wild idea, but the results were telling. Extract efficiency dropped to 61%, with fermentable extract hitting just 45.2%. Translation? Lower gravity, lower ABV, but a beer with serious body and mouthfeel.
For an imperial stout, this created a contradiction – amazing texture but missing that knockout punch you expect from the style. It's like ordering a double espresso and getting decaf with extra foam.
Round Two: The Classic Approach (60 Minutes)
This is most brewers' comfort zone, and for good reason. Dave's results showed 62.8% extract efficiency and 48.5% fermentable extract percentage. The sweet spot delivered high gravity, good fermentability, and enough body to support those massive malt flavors without being cloying.
Sometimes the tried-and-true methods earn their reputation honestly.
Round Three: The Marathon Session (120 Minutes)
Doubling down on mash time pushed extract efficiency slightly higher to 63.6% and fermentable extract to 50.7%. Higher ABV? Check. But here's the catch – the extended conversion time created a thinner, drier beer that lost some of that rich, luxurious mouthfeel that makes imperial stouts so satisfying.
It's proof that more isn't always better in brewing.
The Real-World Takeaways
Short Mashes: Great for body and mouthfeel, but you'll sacrifice efficiency and potentially alcohol strength. Perfect for session beers or styles where you want that chewy texture.
Extended Mashes: They'll squeeze out every bit of fermentable sugar, but might leave your beer feeling thin. Ideal for high-gravity beers where you need maximum alcohol extraction.
The Sweet Spot: For most styles, that traditional 60-90 minute window still makes the most sense. If you want to optimize, try 90 minutes at a slightly lower temperature (149°F/65°C) for better enzyme stability.
Ready to experiment? Start conservative. Try adjusting your next batch by 15-30 minutes from your normal routine and taste the difference. Keep detailed notes – your palate will tell you more than any efficiency calculation.
Remember, brewing is about creating the beer YOU want to drink. Whether that's a full-bodied session ale or a bone-dry Belgian strong, understanding how mash time affects your finished product gives you the control to make it happen.
What mash experiments are you planning for your next brew day? We'd love to hear about your adventures in temperature and time manipulation.
Grainfather Team